Configuring Auto Annotation in the UI
Overview
The auto-annotation visual editor lets you configure how interactions are automatically labeled (good, bad, or unknown) without manually editing YAML. The editor is an exact visual representation of the underlying YAML pipeline - every change you make in the UI is reflected in the YAML and vice versa.
Accessing the Editor
Navigate to the Interaction Types screen under Configuration → Select the interaction type you want to configure → Click Edit YAML
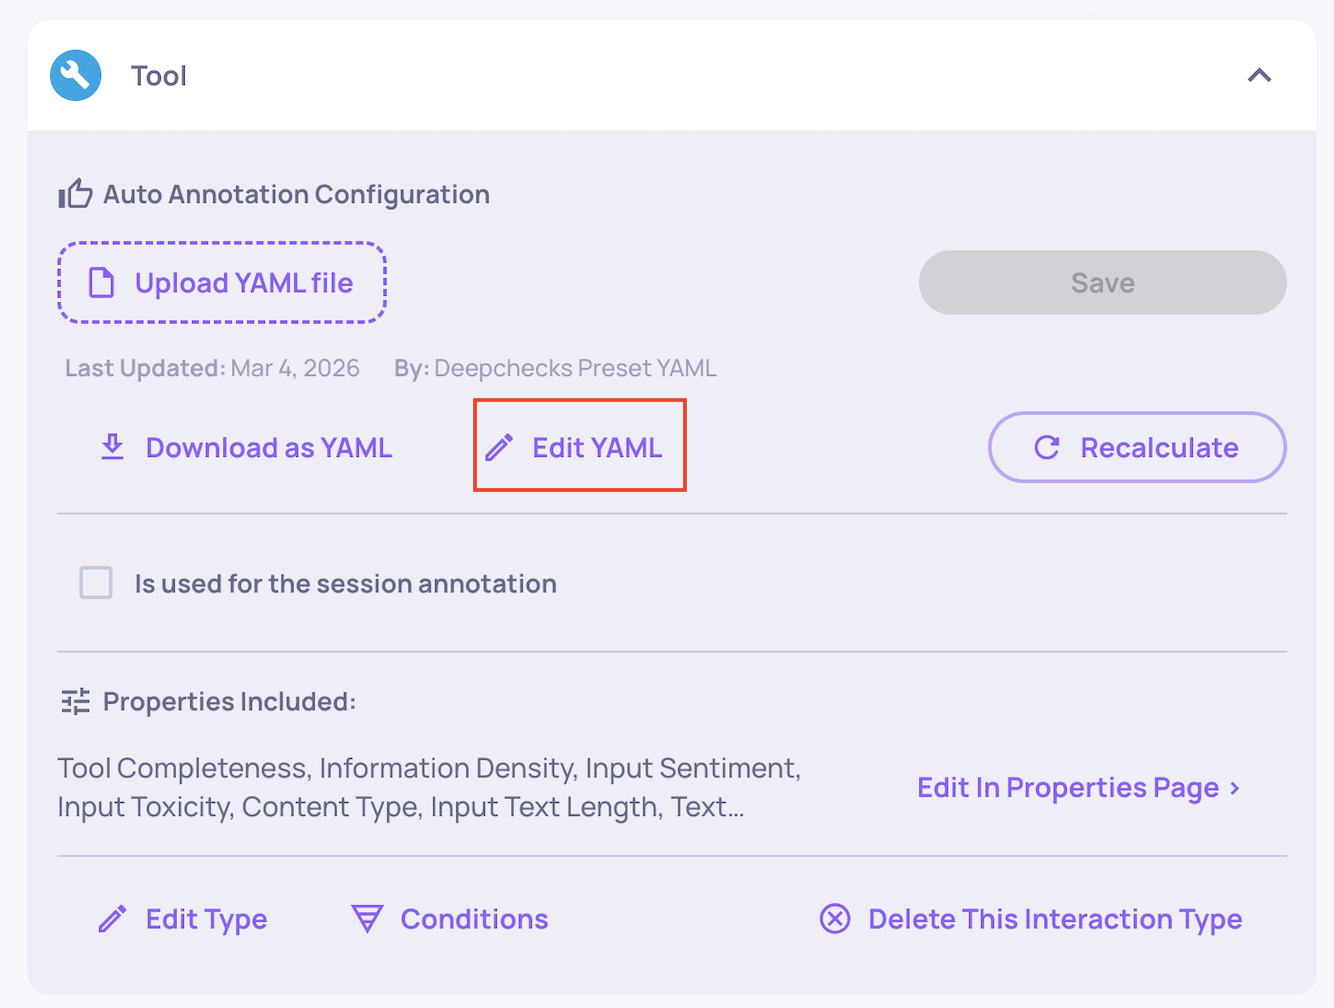
This opens the visual editor for that interaction type's auto-annotation pipeline. Each interaction type has its own independent configuration.

How the Pipeline Works
The auto-annotation pipeline is a sequence of blocks evaluated from top to bottom. When an interaction is processed:
- The interaction is checked against the first block's conditions
- If the conditions are met, the block's annotation (good, bad, or unknown) is applied and evaluation stops
- If the conditions are not met, the interaction moves to the next block
- If no block matches, the default annotation at the bottom of the pipeline is applied
The order of blocks matters - the first matching block wins. You can drag and drop blocks to reorder them.
Block Types
Property Block
Annotates interactions based on property scores. Each block contains one or more conditions, and you choose whether all conditions must be met (AND) or any condition (OR).
For each condition, you select:
-
Property - which property to evaluate (e.g., Toxicity, Text Quality)
-
Operator - how to compare (
>=,>,<=,<,=,!=,IN,NOT IN) -
Value - the threshold or set of values
For numeric properties, a range slider lets you set the threshold visually.

For categorical properties, a multi-select dropdown lets you pick the matching values.

Similarity Block
Copies the annotation from a previously annotated interaction that has the same user interaction ID and a similar output. You set a similarity threshold (0 to 1) - if the similarity score meets the threshold, the existing annotation is copied. This is primarily useful for regression testing: when you re-run the same inputs on a new version, interactions with near-identical outputs inherit their previous annotation automatically.
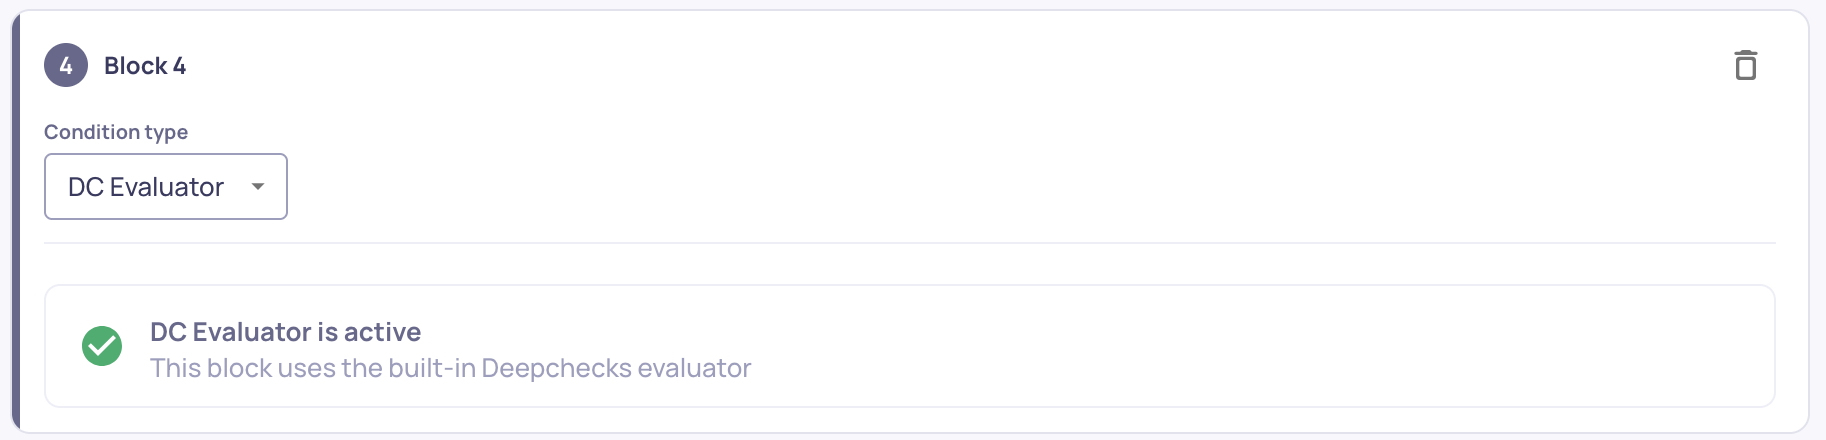
Deepchecks Evaluator Block
Activates the built-in Deepchecks evaluator, which learns from your manually annotated data to predict annotations. No configuration is needed - simply add the block to include it in your pipeline. This is relevant mainly for Classification use-cases.
Children Block
For parent interaction types that contain child spans, this block annotates the parent based on its children's annotations. You define conditions on what proportion of children received a specific annotation.
Example: Annotate the parent as "bad" if even a single child interaction was annotated as "bad".
Adding and Managing Blocks
- Add a block - Click the Add Block button between existing blocks or at the top/bottom of the pipeline
- Remove a block - Click the remove icon on the block's header
- Reorder blocks - Drag and drop blocks using the drag handle
- Change block type - Use the type dropdown in the block header to switch between property, similarity, children, or Deepchecks Evaluator
- Change annotation - Use the annotation dropdown to set what label the block applies (good, bad, or unknown)
Within property and children blocks:
- Add a condition - Click Add condition at the bottom of the block
- Remove a condition - Click the x button on the condition
- Toggle AND/OR - Click the logic chip between conditions to switch
Default Annotation
At the bottom of the pipeline, the default annotation determines what label is applied when no block's conditions are met. Set this using the dropdown at the top of the screen.

Saving Changes
After making changes:
- The editor shows an Unsaved changes indicator
- Click Save to apply your configuration
- Deepchecks validates the configuration and saves it
- You'll be prompted to recalculate auto annotations - we recommend recalculating across all relevant versions so comparisons remain consistent
Additional actions:
Dismiss reverts all unsaved changes back to the last saved state. Reset to Default loads the default template configuration for this interaction type.
Use Histogram OverlayIf you select a version from the "Application Version" on the top-right corner of the screen, each property condition will now show the histogram overlay of the property scores for that property. This is meant to enable the user to foresee how a change in a property threshold would theoretically change interaction annotations.
Note that using the histogram for reference doesn't necessarily indicate the exact changes to the interaction annotations, since there are many more factors to take into account.