AWS Cloudwatch
Deepchecks can be configured to send monitoring data and LLM evaluation metrics directly to your AWS CloudWatch account. This allows you to consolidate your model-monitoring data in one place, using your existing AWS dashboards and alarms.
This guide will walk you through creating the necessary IAM Role in your AWS account and providing its ARN (Amazon Resource Name) to Deepchecks.
For AWS SageMaker deployments please see the relevant documentation
Setup
The setup process involves creating an IAM role in your AWS account that Deepchecks can assume. This role will be granted a specific, limited policy that only allows it to write metric data to a designated CloudWatch namespace.
Part 1: Create the IAM Role
-
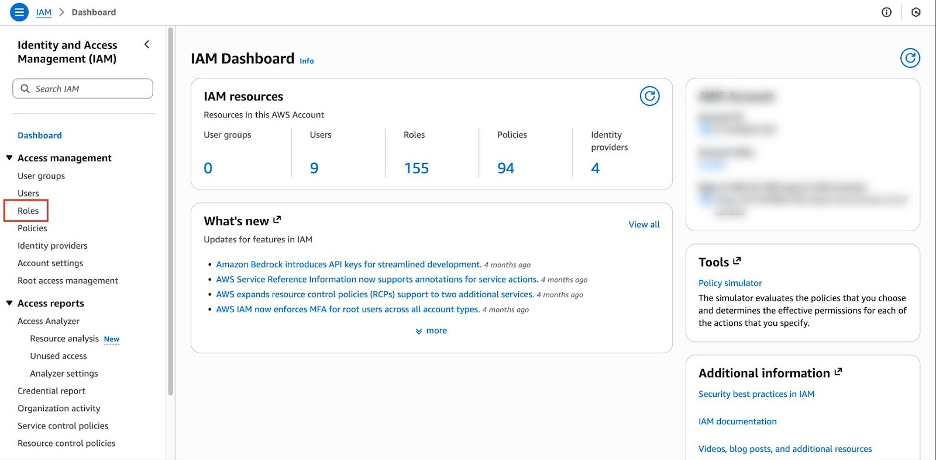
Sign in to your AWS account and navigate to the IAM service.
-
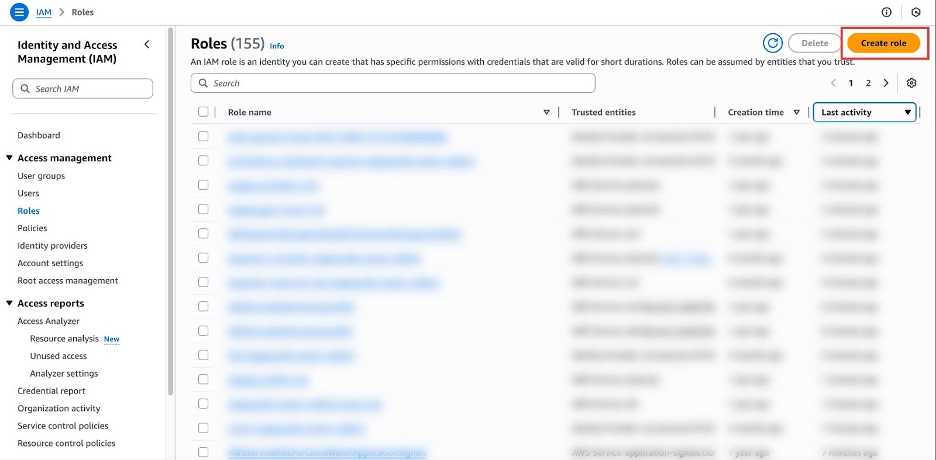
Go to Roles in the left-hand menu and click Create role.
-
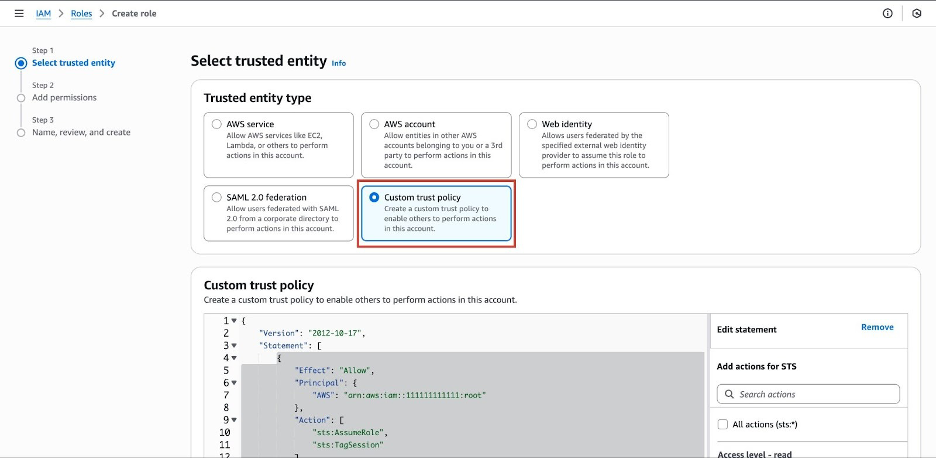
For Trusted entity type, select Custom Trust Policy.
-
Paste the following trust policy:
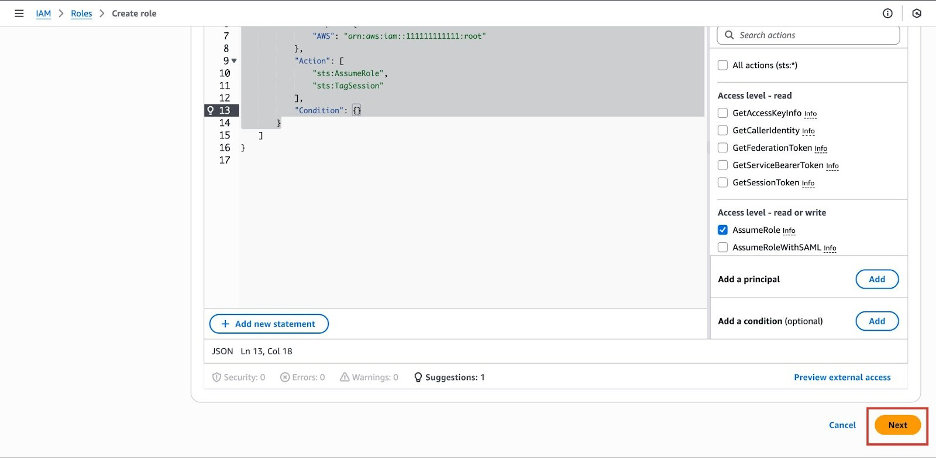
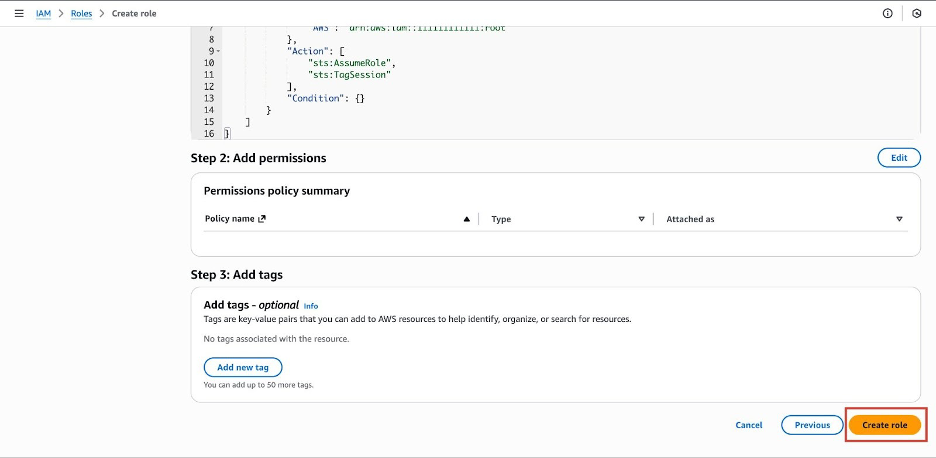
(Please contact your Deepchecks Solution Engineer to get the correct AWS account ID){ "Version": "2012-10-17", "Statement": [ { "Effect": "Allow", "Principal": { "AWS": "arn:aws:iam::TDB:root" }, "Action": [ "sts:AssumeRole", "sts:TagSession" ], "Condition": {} } ] } -
Click Next.
-
On the Add permissions page, click Next without adding any policies. We will add a specific inline policy in the next part to ensure the permissions are strictly limited.
-
On the Name, review, and create page:
-
Role name: Enter a descriptive name, such as
DeepchecksMetricsNotifierRole. -
Description (optional): Add a description, like "Allows Deepchecks to send metrics to CloudWatch."

-
Review the details and click Create role.
-
Part 2: Add Permissions Policy
Now that the role is created, you need to attach the specific permissions policy that allows it to send metrics.
-
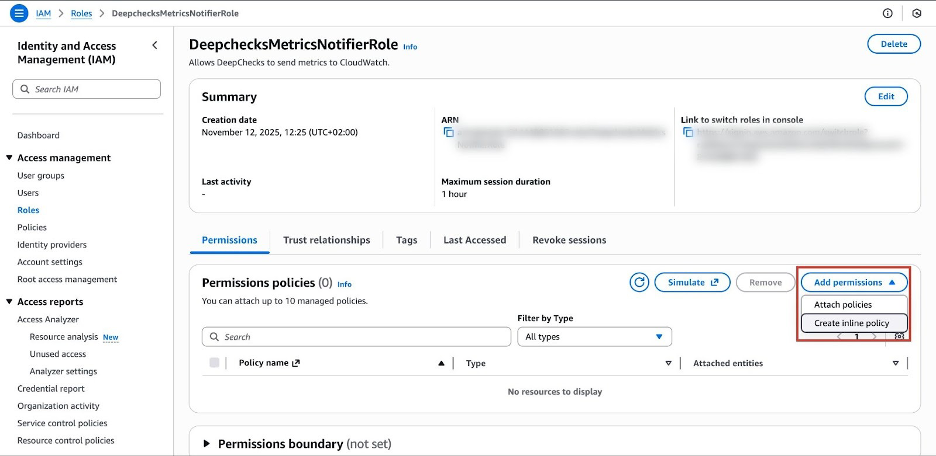
From your IAM Roles list, find and click on the role you just created (e.g.,
DeepchecksMetricsNotifierRole). -
On the role's summary page, ensure you are on the Permissions tab.
-
Click the Add permissions button and Create inline policy.
-
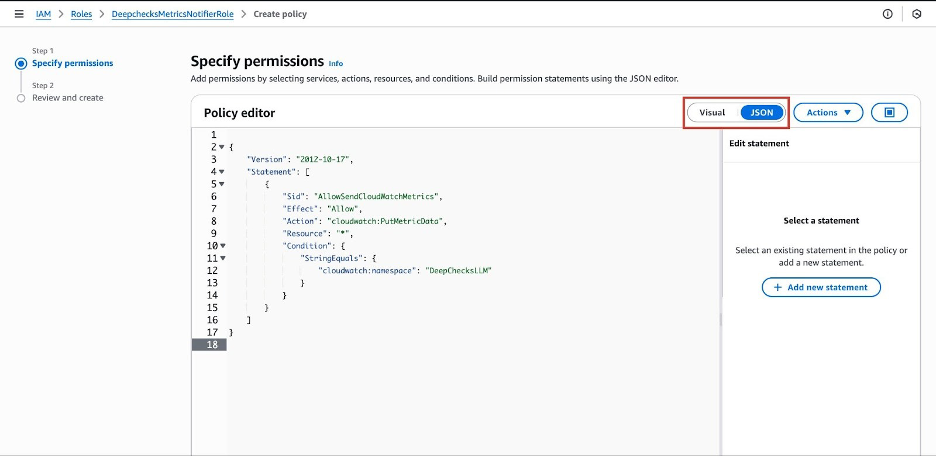
This will open the policy editor. Select the JSON tab.
-
Delete any existing content in the editor and paste the following policy. This policy is strictly limited to the
cloudwatch:PutMetricDataaction and only for theDeepChecksLLMnamespace.{ "Version": "2012-10-17", "Statement": [ { "Sid": "AllowSendCloudWatchMetrics", "Effect": "Allow", "Action": "cloudwatch:PutMetricData", "Resource": "*", "Condition": { "StringEquals": { "cloudwatch:namespace": "DeepChecksLLM" } } } ] } -
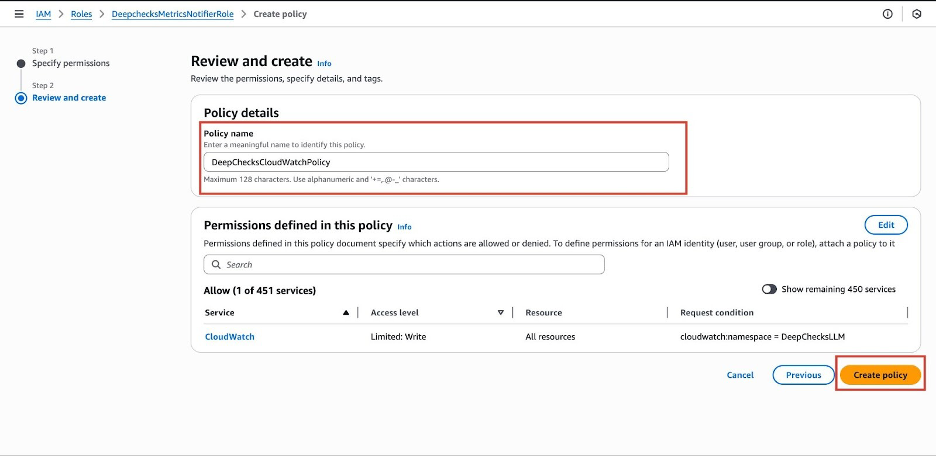
Click Next.
-
Give the policy a Name, such as
DeepchecksCloudWatchPolicy. -
Click Create policy.
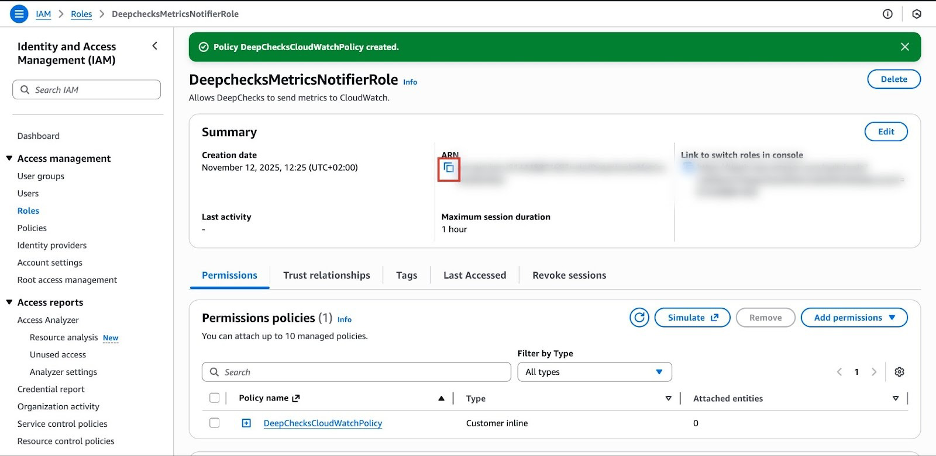
Part 3: Provide the Role ARN to Deepchecks
You have now successfully created a role and attached the necessary permissions. The final step is to provide the Role ARN to Deepchecks.
-
You should be back on the summary page for your
DeepchecksMetricsNotifierRole. -
At the top of the Summary section, find the ARN. It will look similar to
arn:aws:iam::<Your-Account-ID>:role/DeepchecksMetricsNotifierRole. -
Click the copy icon to copy the ARN to your clipboard.
-
Provide this Role ARN to your Deepchecks Solution Engineer.